By: Dr. Janette Blackwood, Charleston Harbor Veterinarians
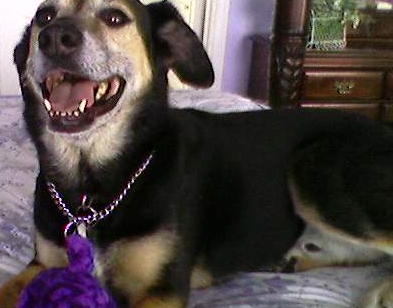
At Charleston Harbor Veterinarians, we receive multiple questions from our clients about the spay and neuter process. These questions range from asking how do we keep our patients comfortable to why is there a price difference between us and the local SPCA practices. To help answer those questions and more, we were fortunate to have our patient Kona volunteer to have her experience documented for this blog and to show a “behind the scenes look” at how CHV handles our spay process from start to end.
My first experience having a pet spayed was unfortunately not the best. This was back in the 1990s and I was a child. We dropped our cat off at the veterinary clinic in our small town in Georgia and picked her up the next day. I remember my entire family being squeamish and not wanting to look at her incision, but short of paying the bill, that was the extent our our involvement in her spay procedure. I don’t ever remember meeting her doctor or surgical nurse. Several years later, I was a teenager and looking to pursue a career in veterinary medicine. I excitedly received my first job at that same veterinary practice. I was dismayed to watch the process. At this time, I found out that this particular veterinary practice had a habit of reusing surgical instruments as there were often more procedures scheduled in a morning than the surgical packs or technical staff available.
What I saw a couple of decades ago shaped how I decided I would practice veterinary surgery in the future. Finding a veterinary partner in Dr. Kahuda was very exciting for me, as we quickly realized that we shared almost identical goals in how we wanted our surgical protocol and team to operate.
Surgery is such an important event in a pet’s life that at CHV we purposely choose to keep our daily surgical numbers low. While a veterinarian at a high volume practice may be scheduled to spay or neuter 6+ patients in a morning, CHV typically schedules a maximum of 3 surgeries in a day. This number can be much higher even at high quality shelters, whose veterinarians may be scheduled for 20-30 surgeries in a morning. Charleston Harbor Veterinarian’s lower volume allows for more personal attention to each patient and a process that is tailored to their comfort level and specific anesthetic needs.
A Day in the Life of a Spay at CHV
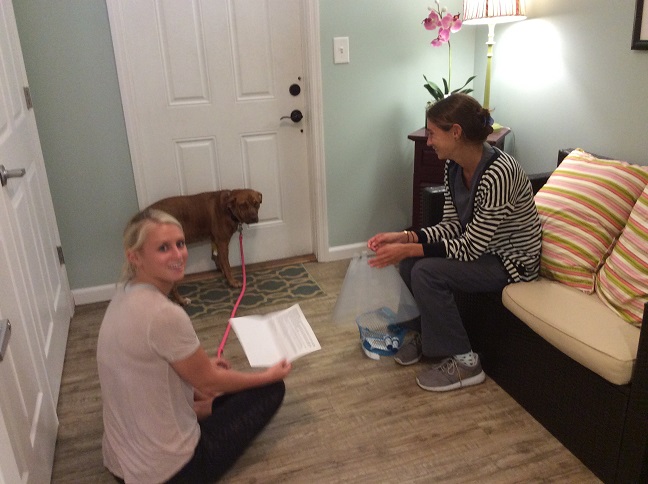
Drop off | Kona is dropped off at our practice between 7:30 and 8:00 am. The night before, her owner received an email that contained her surgical paperwork and instructions to not feed her after midnight. At drop-off, Kona’s owner received the option to speak directly with the surgical team to have any last minute updates, questions, and concerns addressed.
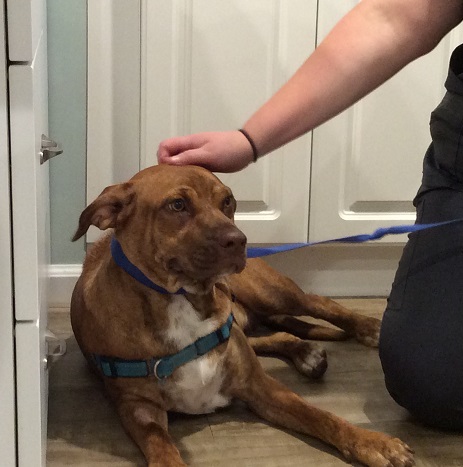
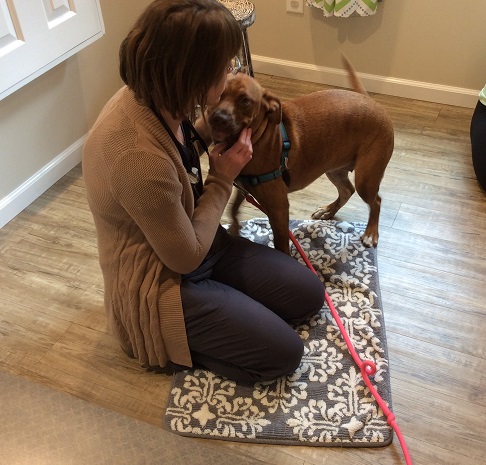
Physical Exam | After drop-off, Molly and I completed Kona’s examination. She was nervous to be at the veterinary hospital, so we tried to ease her anxiety by performing the exam on the floor instead of the treatment table. She also had time to rest and acclimate to the hospital.

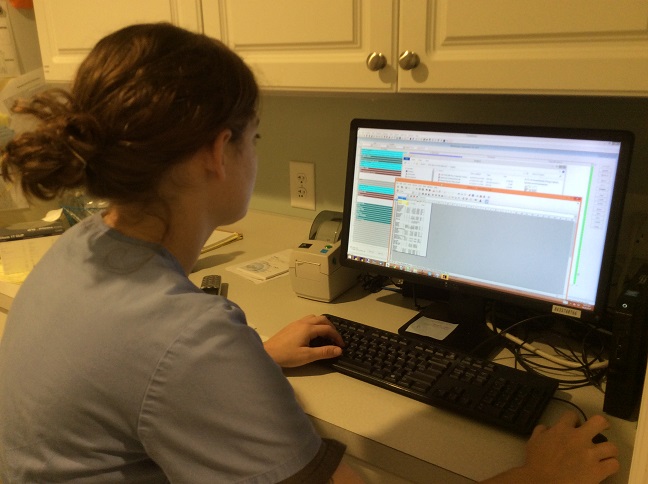
Bloodwork | Once it was determined that her physical examination was normal, blood was drawn for preoperative screening. Bloodwork checks are to make sure that Kona is not anemic (does not have a low red blood cell count), has normal electrolytes, is hydrated, and has normal kidney and liver values.

Anesthetic calculations | Kona’s bloodwork was normal! Jesse and I calculated the anesthetic doses that Kona will need during her surgery. Kona’s anesthetic calculations and pharmaceutical choices were based on her age, the results of blood work and physical examination and her history of any previous or concurrent illnesses. Fortunately, Kona is currently a healthy girl so no adjustments to our standard protocol was needed the morning of her surgery.
Pre-medication | Next, Kona received a pre-medication injection. Pre-medication helps provide sedation and a high level of pain control during the upcoming surgery. The injection is placed in the muscle. Kona was given 30 minutes for a final bathroom break and to allow the pre-medication to take effect.

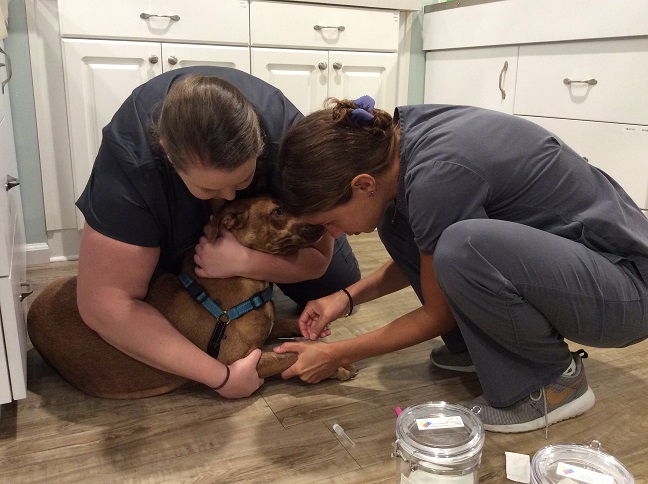
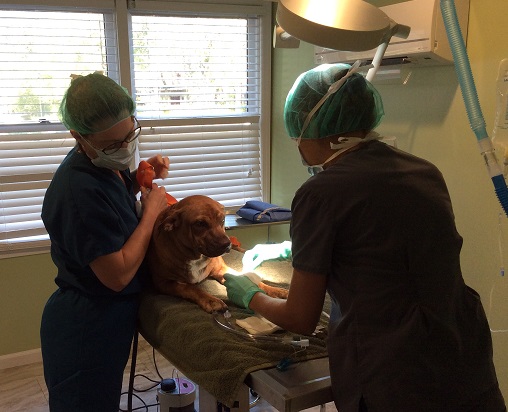
IV catheter placed | All patients receiving general anesthesia at Charleston Harbor Veterinarians have an IV catheter placed. The IV catheter allows for additional anesthetic medication to be delivered intravenously. During surgery, IV fluids will also be administered through this catheter. IV fluids keep our patient hydrated and maintains the patient’s blood pressure at a normal level during anesthesia, both of which helps prevent anesthetic complications. Here, Molly and Tara placed Kona’s IV catheter.
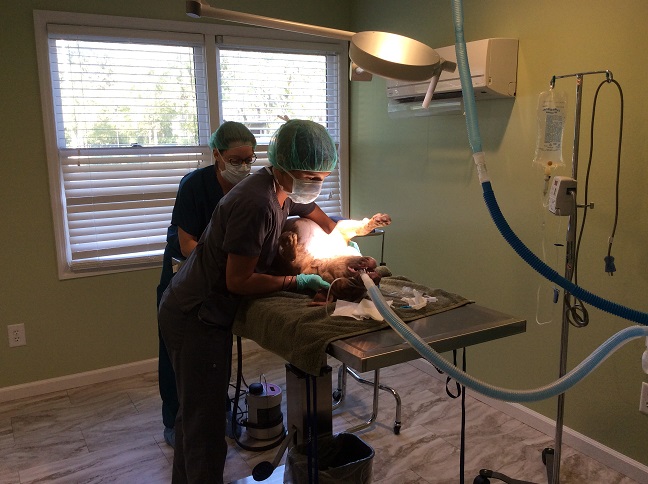
IV induction | Kona’s entire abdomen was clipped in preparation for surgery, and she is transported into the surgical room. On the surgery table she received IV medication from Molly and me to induce her into going into general anesthesia.
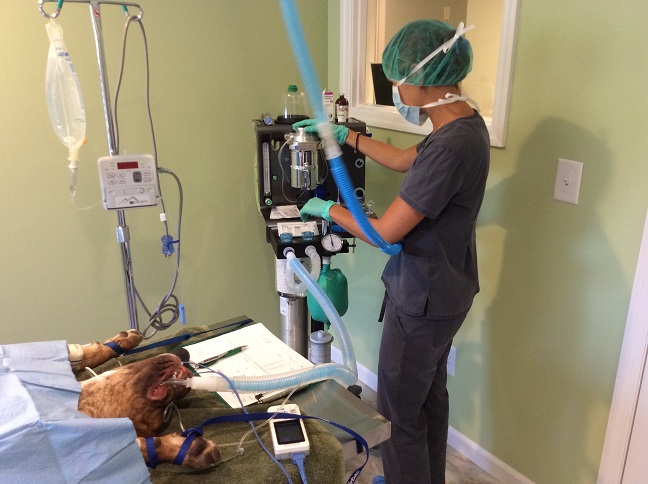
Intubation | It is protocol for patients receiving general anesthesia at Charleston Harbor Veterinarians to have an endotracheal tube placed. This plastic tube is placed into the trachea to keep the airway open and to allow a steady stream of both oxygen and anesthetic gas to go into the airway, allowing us to easily adjust the level of anesthesia as needed. This tube also prevents dangerous stomach contents from going down the airway, should the patient start to regurgitate under anesthesia. Molly and I placed the endotracheal tube.

Positioning | Kona was then placed in dorsal recumbency (on her back). She was provided a warming water blanket to help her body maintain a warm, comfortable temperature.
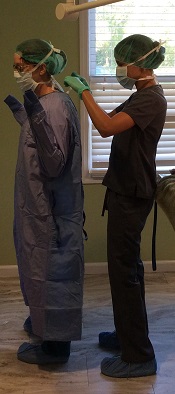
Sterile prep and gowning | Molly performed a sterile abdominal prep on Kona’s skin, as I scrubbed and prepared myself to perform surgery. Afterwards, Molly helped me put on my sterile gown and gloves.
IV fluids start and sterile drapes | Kona’s IV fluids were started. Sterile drapes were placed over Kona’s already sterile, prepped abdomen.

Spay procedure | I performed her spay.

Blood pressure monitoring | Meanwhile, Molly was very busy monitoring Kona under general anesthesia. She monitored and recorded her blood pressure.
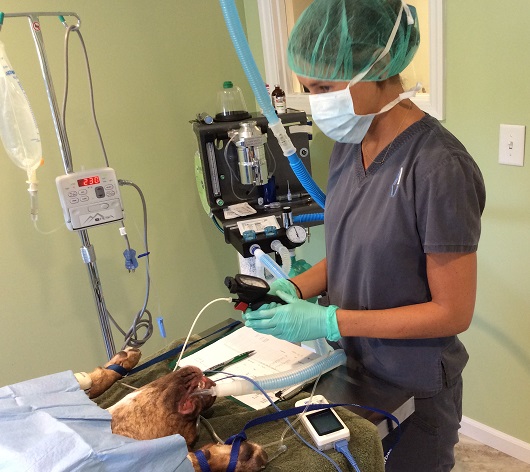
Fluids monitoring | Molly monitored that Kona’s fluids were running properly.
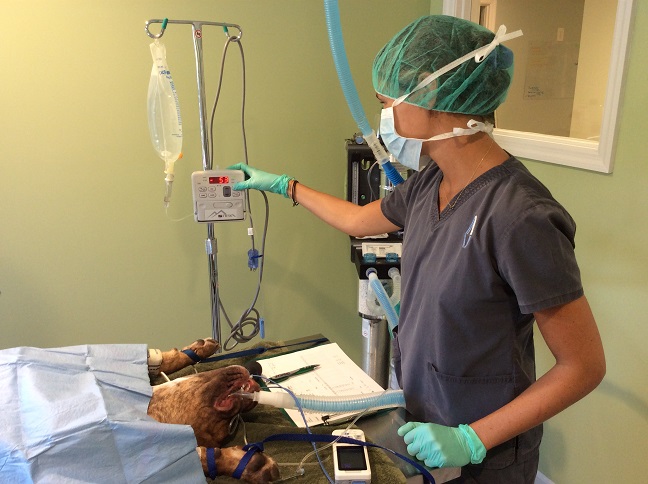
More monitoring | Molly monitored and recorded Kona’s pulse ox, heart rate and respiration.
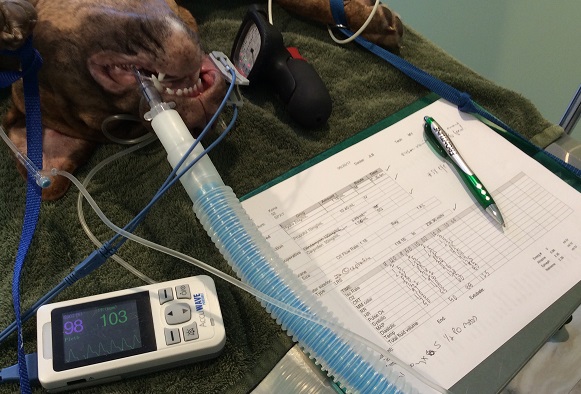
Adjustments | The information that our anesthetic team records helps determine how the patient is doing under general anesthesia. This monitoring allows us to detect small changes under anesthesia early, as that can alert us that a problem could be slowly developing. The goal is to catch small issues early before they could possibly develop into an emergency. Molly adjusted Kona’s anesthesia as necessary during the procedure to ensure at all times that the patient was at proper anesthetic depth.
Pain medication | Towards, the end of the procedure, Kona received a second injection for preventing pain. At the time of discharge from the clinic, she also went home with oral medication to prevent discomfort. Her type of pain medication was chosen again based on her physical examination, blood work and history of any type of other medical issues.

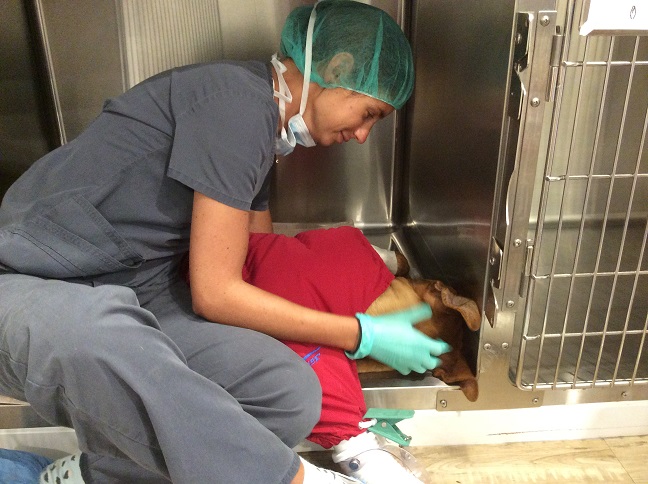
Recovery | After the procedure, Kona is transferred into our surgical recovery area. Kona was provided with a warm air blanket in recovery. Molly sat with her until she was completely awake.
Those who have toured our practice know that we have a relatively open floor plan. This recovery area can be viewed from the surgical suite, the treatment area, the laboratory computers, and even one of our examination rooms. One of the most critical times that an anesthetic mishap can occur is during the recovery period. For this reason, our patients are not left alone until they are fully awake and recovered from general anesthesia, and our floor plan allows for easy monitoring, even during more busy days. Molly in particular is known at CHV for snuggling her patients in recovery, making sure they recover in comfort and given her full attention.
Communication and discharge | Kona’s owner received a phone call from me after the procedure letting her know that Kona had recovered well. Kona was kept in the clinic for a few more hours in order to continue to monitor her recovery. Both Molly and I updated her medical record to include her anesthetic and surgical notes.
At discharge, Kona’s owner met with both Molly and me. Molly sat with Kona’s owner and reviewed Kona’s discharge instructions and pain medications to be administered at home. She told Kona’s owner how to care for her surgical site and how to prevent infections. She also showed Kona’s owner the “cone of shame” that would be needed to be worn until her recheck in 2 weeks.
Follow-up and recheck | Molly called Kona’s owner the next day to check and make sure that Kona had been comfortable overnight at home and was pleased to hear that she did very well.
In 2 weeks, Kona returned for her surgical recheck examination. She had healed very well and her sutures were removed with a little coaxing to lay down.

Clean bill of health | Kona had recovered well and was full of her old energy. She was given permission to stop exercise restriction and return to her regular level of activity.
Janette Blackwood, DVM